Submitting a Case Updated October 26, 2026
Back to Support
How do I submit a digital case?
The answer
- Start your case. From the Home page, select Create Case in the upper-right corner.
- Enter the doctor and patient information. Select the doctor and location, then enter the patient’s name and date of birth. Select Next to continue.
- Choose the dental arch. Select Upper, Lower, or Both.
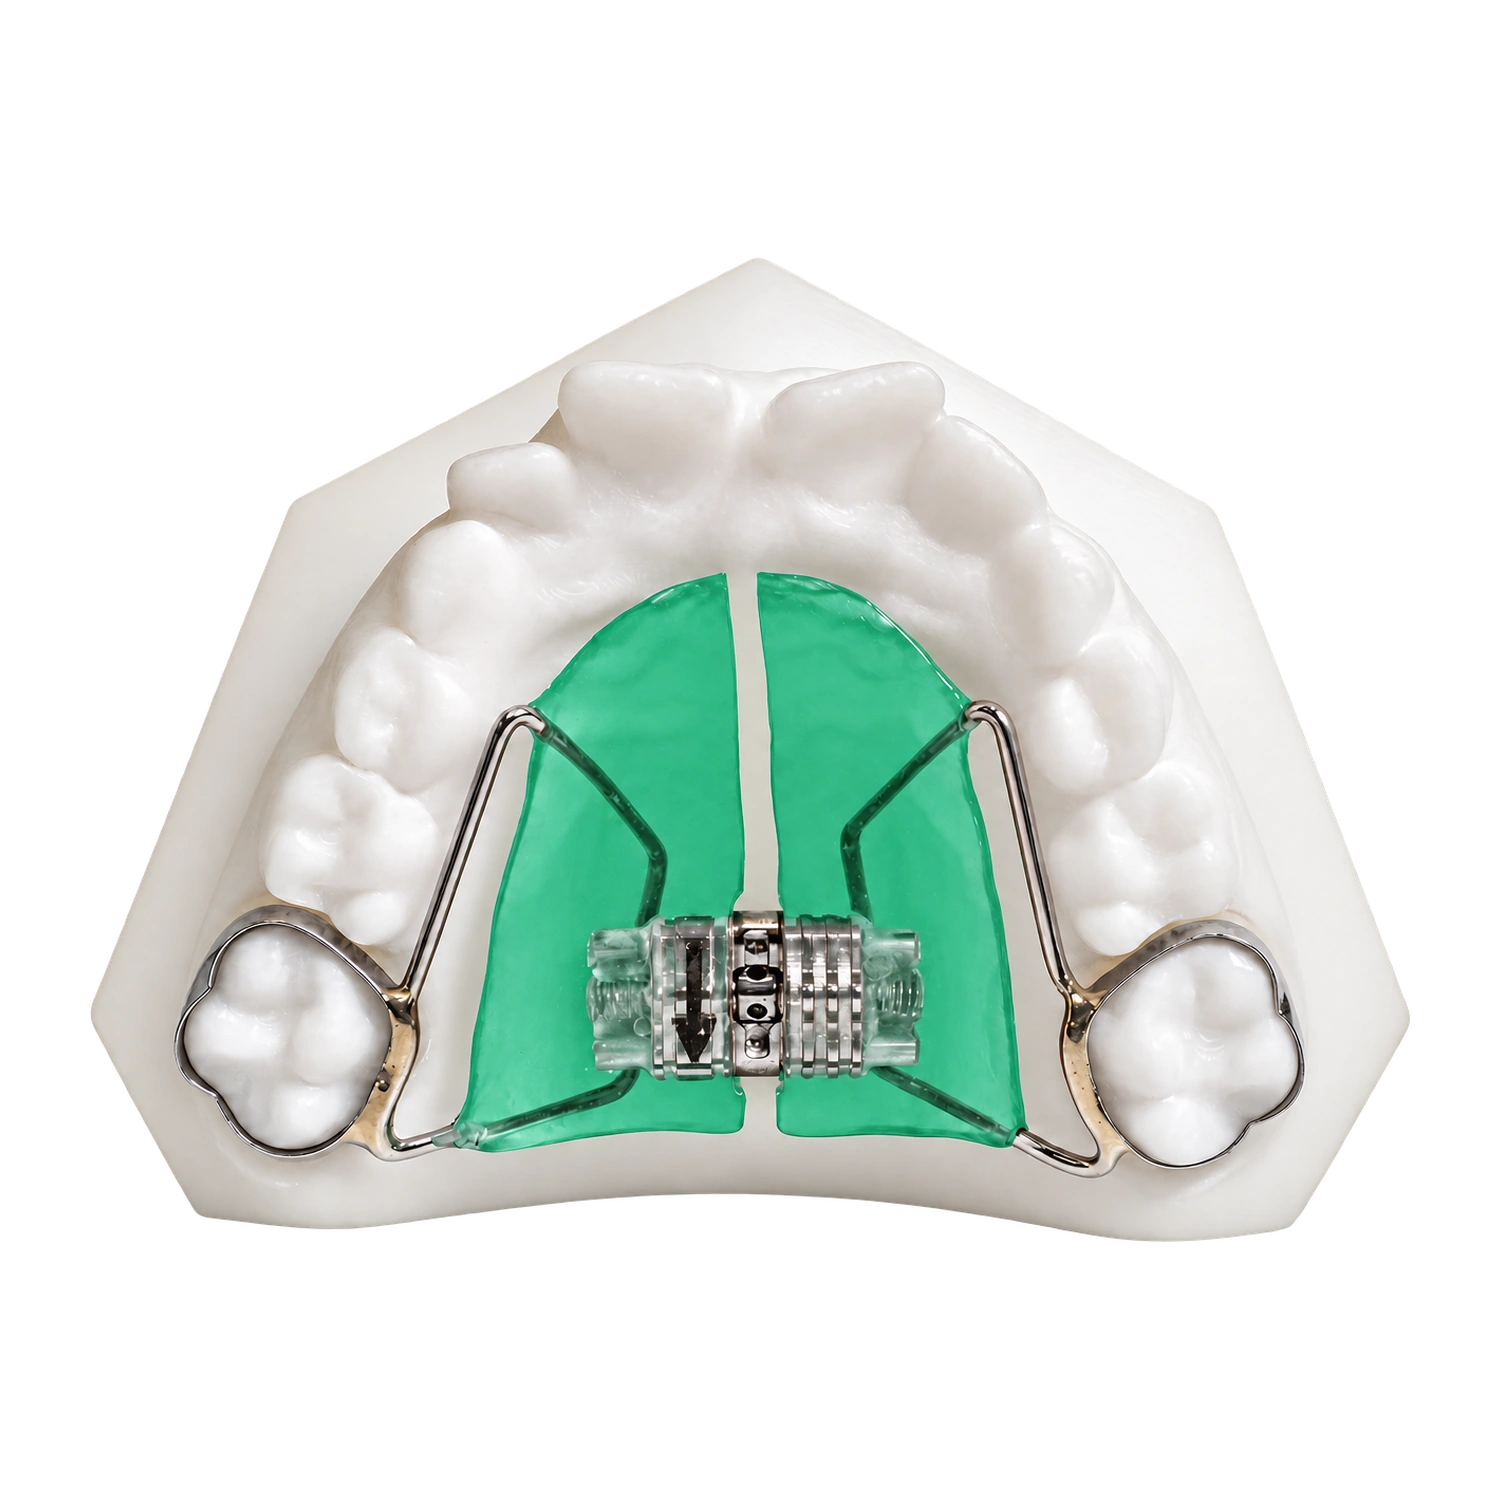
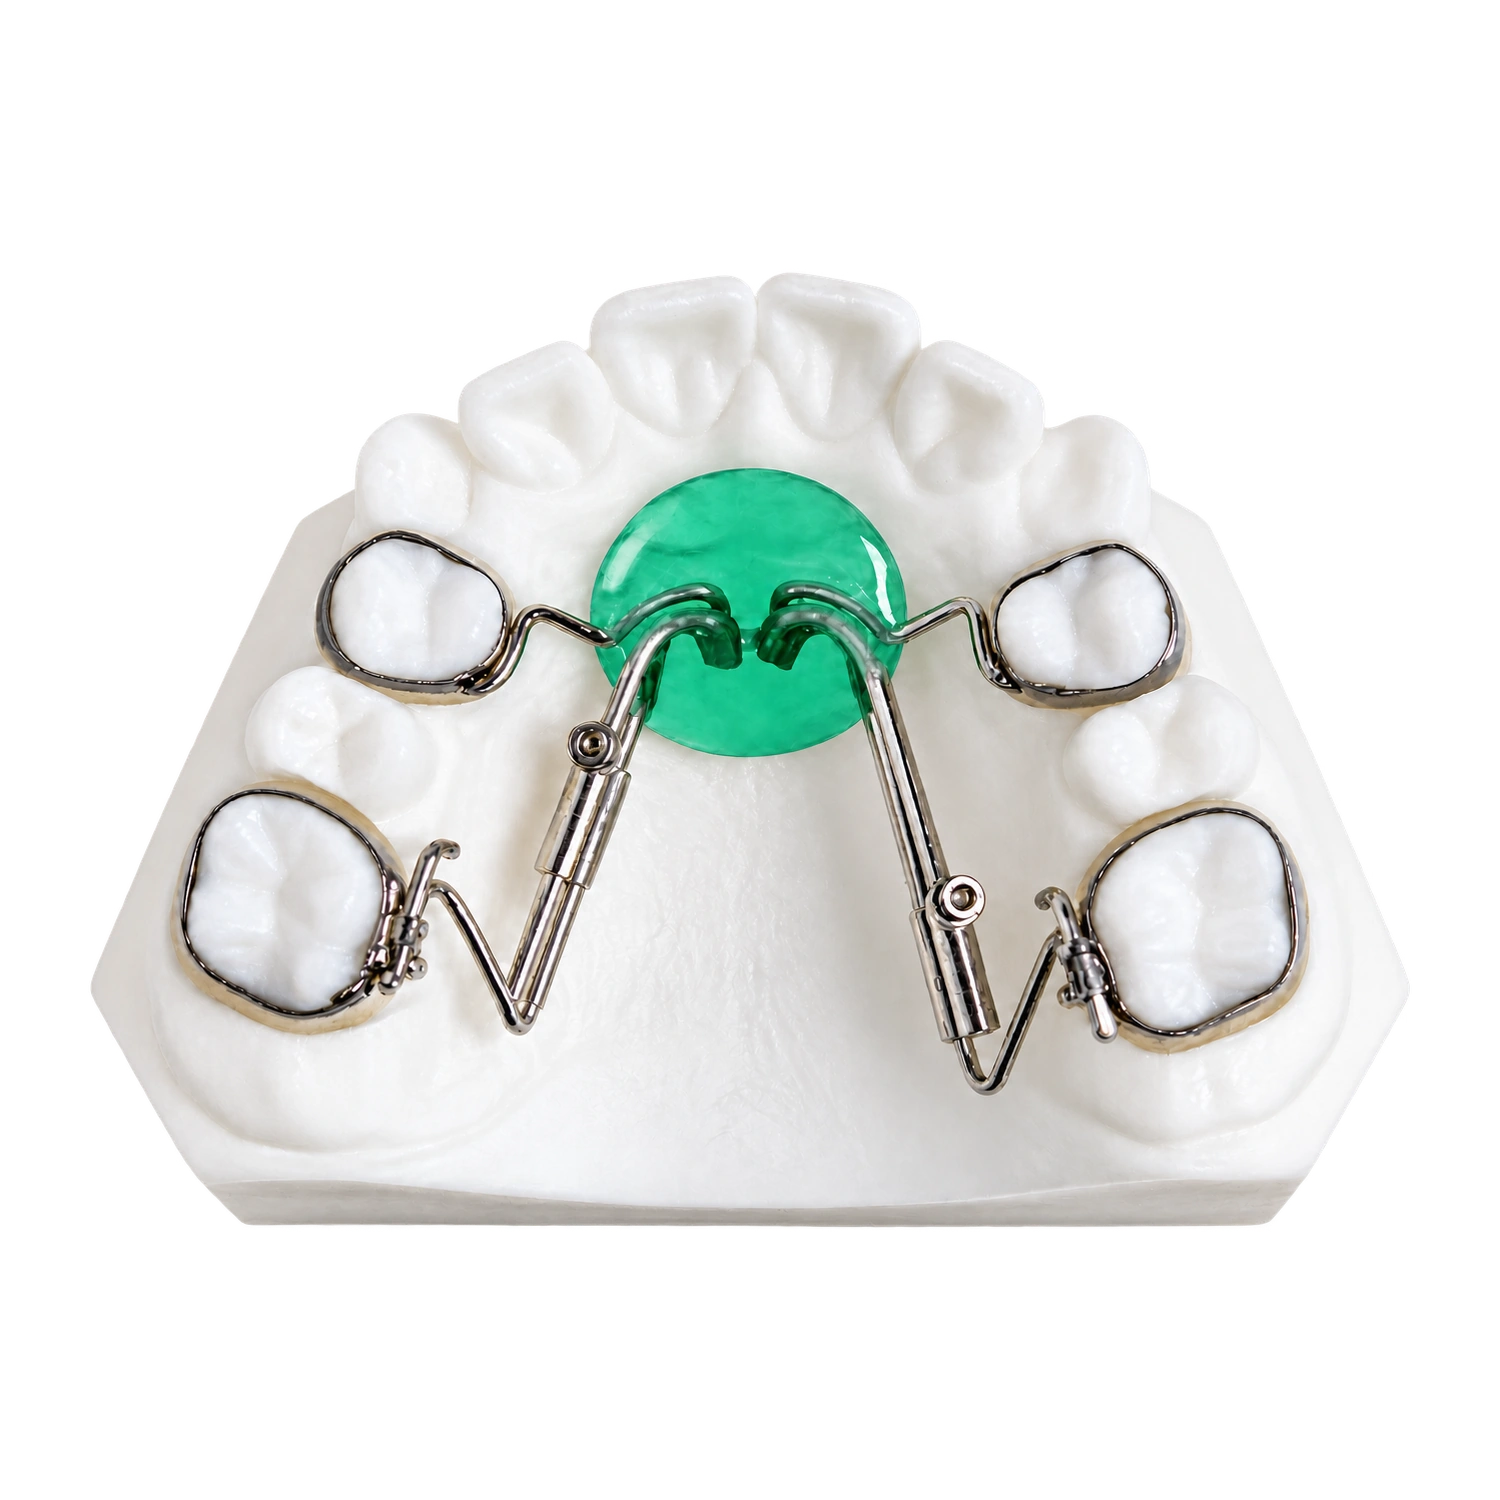
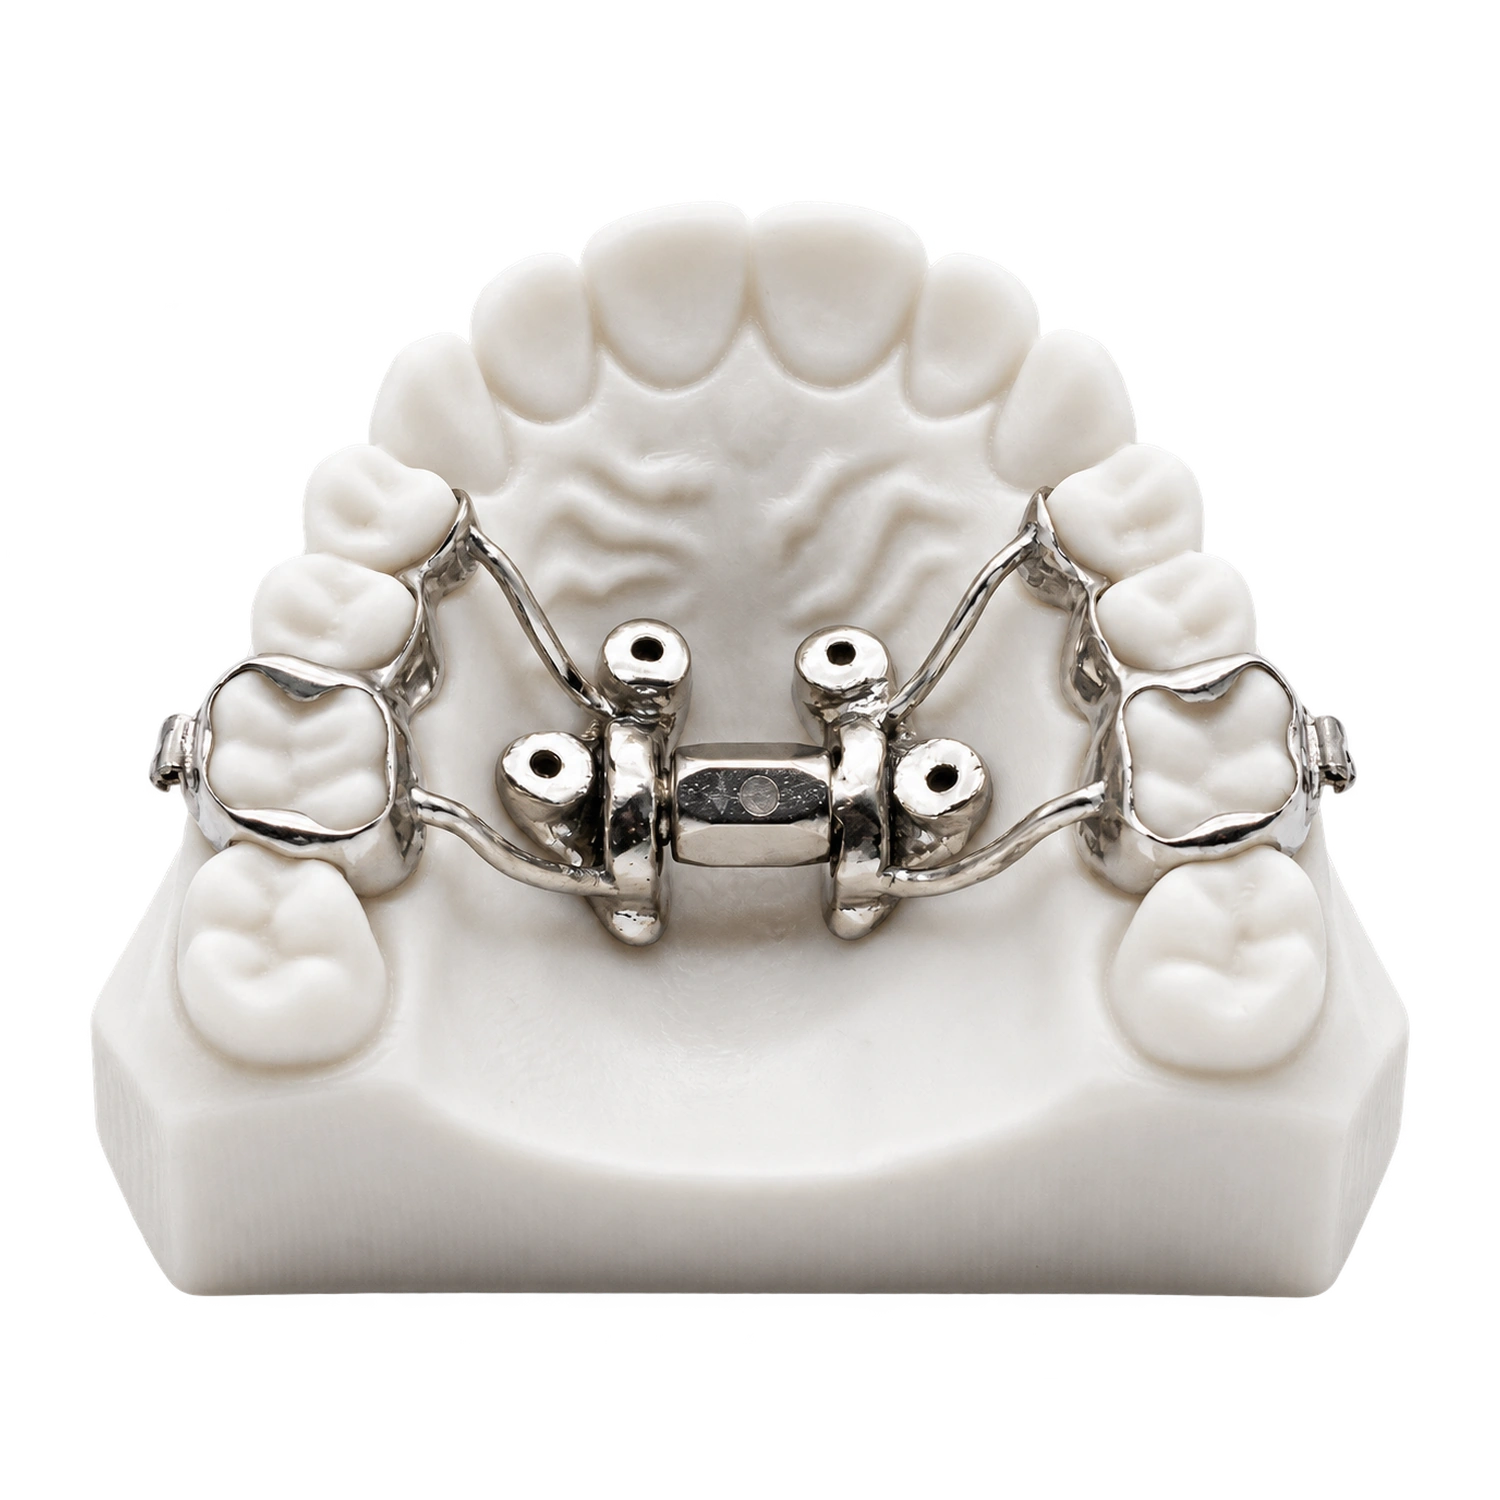
- Choose the appliance. Select the appropriate product category, such as Class II Correction or Retainers, then choose the specific appliance you’d like to order. Diagrams are provided to help you make your selection.
- Select your appliance preferences. Choose the Specialty Appliances default configuration, use one of your Saved Configurations, or select New Configuration to customize the appliance. From there, you can choose accessories, clasping options, and any other preferences specific to that appliance.
- Submit your digital scans. Under Model Submission Type, select Submit by Scanner and upload your STL file(s) by dragging and dropping them into the portal or selecting Upload STL Files. You can also upload supporting documents if needed.
- Choose your return date. Confirm the shipping address and select your requested return date. The earliest available date will be shown automatically. If you need the case sooner, expedited shipping may be available for an additional fee.
- Review and submit. Review the case summary to make sure your prescription details and files are correct. Agree to the terms and conditions, then select Submit Case. That’s it! Your case has been submitted to Specialty Appliances.
Downloads
- What to send: Herbst®, MARA, Xbow® (PDF)
- What to send: Expansion/Distalization & Metals (PDF)
- What to send: Removable Retainers (PDF)
- What to send: Functionals (PDF)
- What to send: Splints (PDF)
- What to send: Indirect Bonding (PDF)
- What to send: Fixed Retainers (PDF)
- What to send: Clear Image® Aligners (PDF)
- What to send: Positioner (PDF)
Was this helpful?